Over my four years riding a bike competitively, I’ve learned how to change flat tires. That doesn’t mean I don’t still find it a nuisance. When the distributor of Tannus solid tires offered to let me try his product out, of course I said yes!

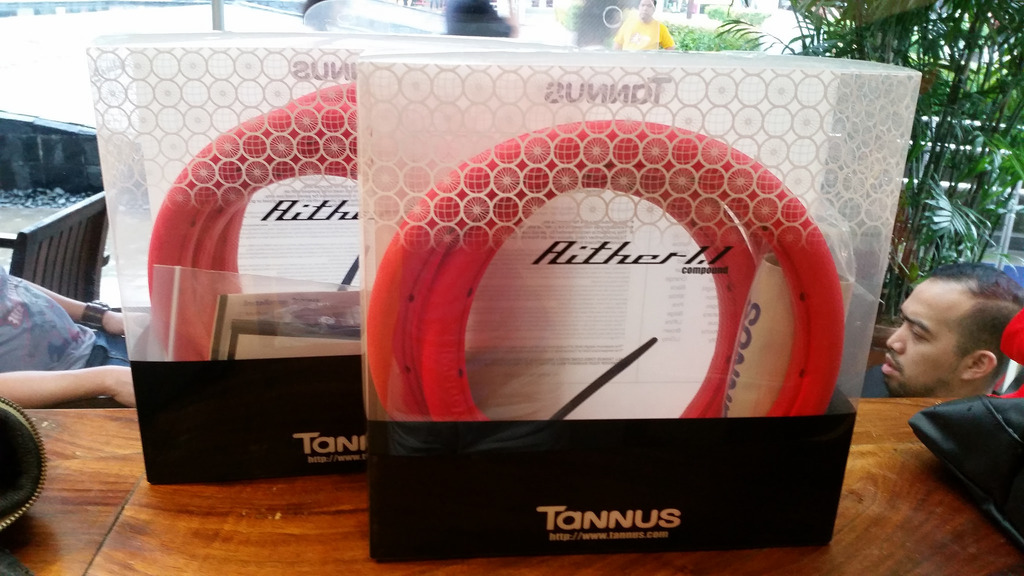
Tannus solid tires available in various colors
In the early days of cycling, riders used iron bands on wooden wheels on “velocipedes” — the first bicycles. Solid rubber tires were then used on “penny-farthings”. The pneumatic, or air-filled, tire came into vogue as a means to soften the harsh rides. These kinds of tires were much lighter and could allow cyclists to go much faster, which is why they’re now nearly ubiquitous on all racing bikes. (Geek out further on bicycle tire history with this Wikipedia entry.)
The main disadvantage of pneumatic tires is their tendency for punctures, and the need to fill them with air before use. Several tire companies have tried to engineer solid tires that were light enough for racing but hardy enough to withstand conditions that would puncture regular tires. Tannus, a Korean company, manufactures its tires with a polymer resin they call “Aither”. It looks like a foam and feels much like the sole of a running shoe, only a little bit tougher.
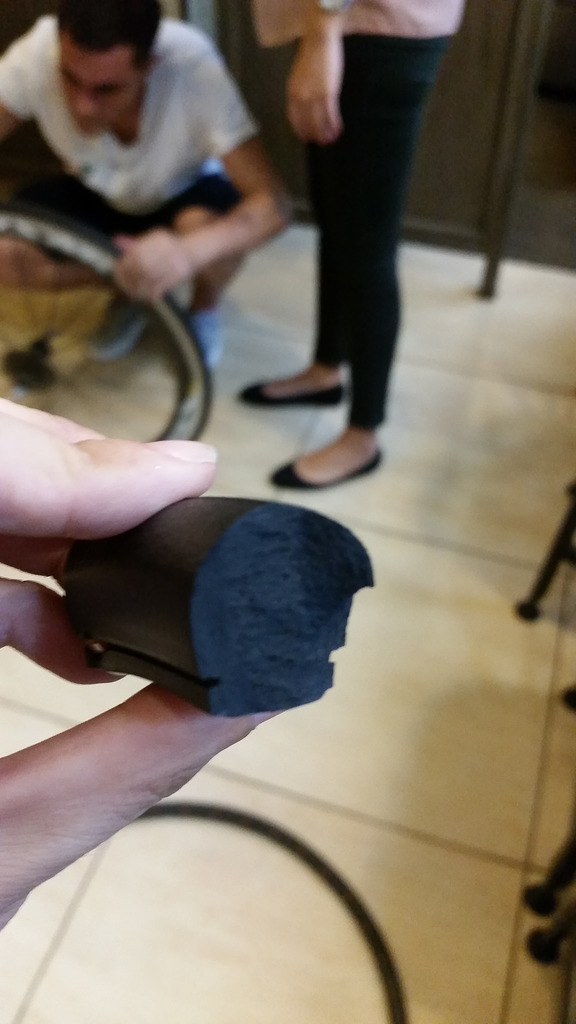
cross-section of a Tannus tire
Their current Aither 1.1 is said to improve on the first generation 1.0, with better road feel and grip performance. According to their tests, the tire’s rolling resistance now more closely matches pneumatic city bike tires.
Its installation is very different to clinchers or tubulars, though. I met up with Ignasi Vega, the commercial director for MSCS Philippines, so he could install the tires on my my Mavic Cosmic Carbone SLS wheelset.
Aluminum clinchers are best suited for Tannus installation; tubular wheelsets do not have a rim wall for the tires to lock into, and carbon clinchers may be damaged during the installation process (you’ll see why below). For best results, have the mechanic at the bike shop you purchase your tire at install it instead of attempting it yourself.
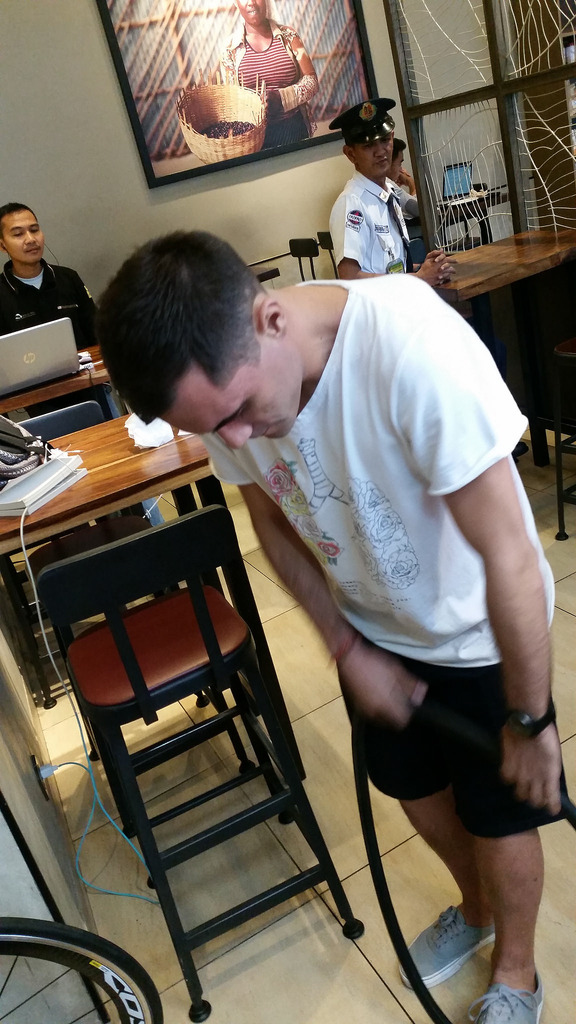
First, you need to stretch the tire so that it will fit over the wheel surface.
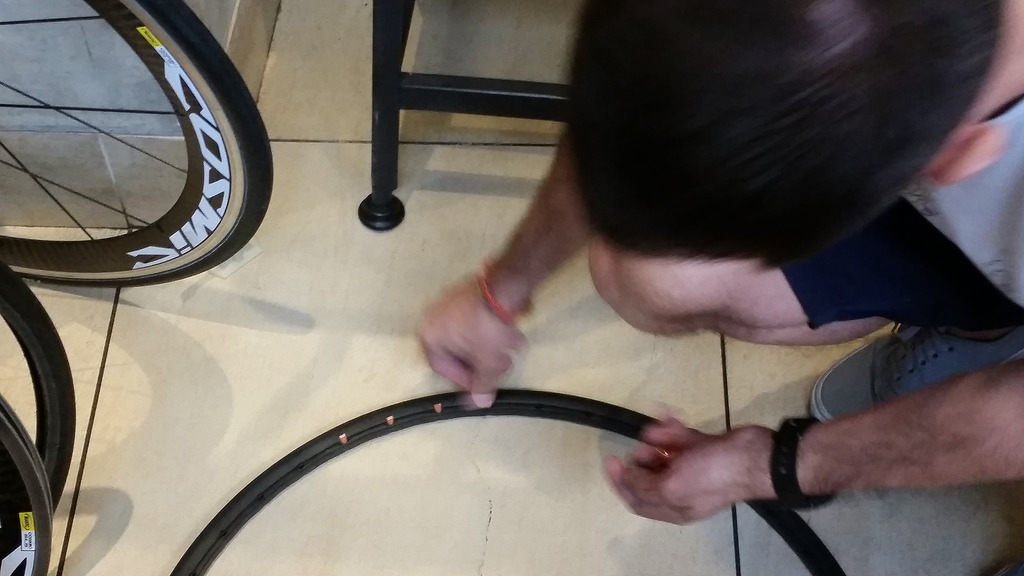
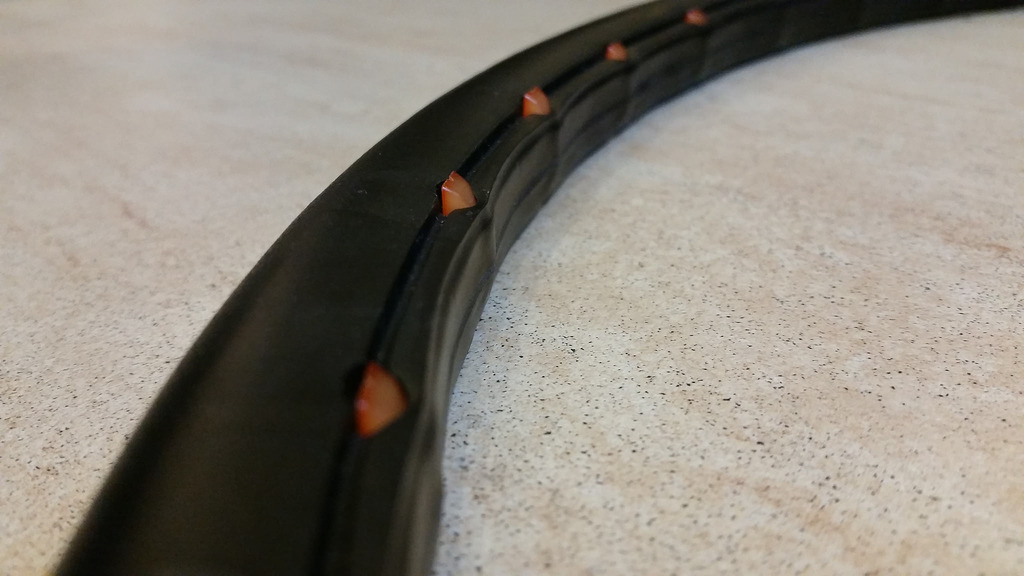
The tires will be held in place by plastic pins you insert at regular intervals on the inner rim. Each tire comes with two sets of pins with two different widths. Choose the pin length that is closest to your wheel’s rim width + 3.5mm.
At this point during the installation process I realized that once the tires are installed, the only way to remove them would be to cut the tire and pull it off the rim. In retrospect, I should have just used a training wheelset because installation on a racing wheelset with a skinny rim was a killer — and you can’t install the tire again elsewhere.
You then pull the entire tire over your wheel, which is harder than it sounds. Using the included tool, you push the pins and the rest of the tire’s inner surface into your wheel rim.
After installation you need to check if the tire is centered, which is why I recommend you let the professionals handle this.

Ignasi doing the heavy lifting.

I tried doing one pin — it’s tough on the hands and arms!
Once installed on my wheelset, there was nothing to do but ride! I have to admit, it was weird in the morning when I didn’t have to pull out my floor pump. Instead, all I needed to do was pack my bike into the car, drive to Nuvali, and get on the bike.
In terms of performance, on the flat sections it felt like any regular tire; once I got the momentum going, it rode much the same as my pneumatic tires. Cornering was no problem and I never felt like the tire would slide off the rim (but then again I corner very carefully anyway).
These tires ride similar to a tire pumped up to 70-100 psi; I normally ride on 110 psi tire pressure, so at times it felt like I had a flat tire — mainly on climbs, where it felt like I was pushing a heavier gear.
For speed performance, these tires still have some way to go before they can be on par with regular tires, although Ignasi tells me they are bringing in a “hard” version that’s equivalent to riding on 110 psi tire pressure. I definitely would recommend you use them on a training wheelset, rather than on a racing wheelset like I did!
Tannus solid tires are definitely a good thing if you normally ride in areas where the road surface may not be great and there’s a big chance you’ll ride over broken glass, nails, thorns (pretty much if you’re riding on provincial roads). You’ll be able to finish your ride safely and get home, which you can’t expect to do on a regular tire. They eliminate the need to carry spares, hand pump, tire levers, and/or a CO2 canister and inflater.
The Tannus Musai Slick tire model is around P2,950 SRP per tire or around P6,000 for a pair. In contrast, it’s P3,200 for a pair of Kenda Caliente folding tires + P300 for a pair of inner tubes, and you’ll need to buy spares and CO2 canisters every time you get a flat tire.
They’re guaranteed for up to 6,000 kilometers of use, although use on bike trainers is discouraged due to the amount of wear the rubbing on the flywheel causes. I tried mine once during a trainer session at home, and let’s just say there was a fine sprinkling of Aither dust on my floor afterwards.
They are perfect for long training rides, or for competition where you’re more concerned about getting to T2 rather than the overall time for your bike split. (I hear they’re particularly popular for beginner female triathletes, especially the pink and fuchsia colors. I suspect it’s also because they don’t have to worry about changing tires anymore!)
Aside from road bike tires, Tannus also offers tires for folding bikes, and the mountain bike knobby tires will also soon be available. Tannus solid tires are distributed in the Philippines by MSCS Philippines. They’re now at The Brick Multisport Store branches in McKinley Hill and in Ayala Center Cebu, The Tri Temple in Pasong Tamo, Makati, and will also be available in Quezon City soon. For more information, check out their Facebook page and Instagram.




1 thoughts on “Kikay Reviews: Tannus Solid Tires”